0330 123 4609
Menu
Unsure of what to do with an old iPad? Here’s a step-by-step guide to help you clear your iPad of all your data before selling it.

Written by Yasmin Maagbe, Content and PR Executive | Environment and Consumer Electronics
Last updated on 11 August 2026
If you’re unsure on what to do with your old iPad, it’s worth knowing that you still need to protect your data and information on your iPad when planning to sell it. Just because it's not a mobile phone, you should not disregard clearing and backing up your data. This blog will guide you through exactly what you need to do before selling your iPad. From factory resetting your iPad to ensuring that you have removed case and screen protective accessories, we’ve got you covered in clearing your iPad for sale.
These are the key steps you need to take to keep your data safe and ensure your iPad has been cleared and ready to be sold.
Back up your data
Sign out from your iCloud account
Reset your iPad back to factory settings
Take a note of the serial number
Remove iPad from your Apple ID
SIM card removal (if your iPad supports cellular connection)
Gently clean the iPad to get it ready for sale.
Continue reading to find out what exactly you need to do to prepare your iPad for sale in this step-by-step guide.
Just like when selling mobile phones, you need to back up your data because iPads also contain your personal details, media and logins. Hence it's important to perform a backup so you don't lose access to any of your data on your next iPad or tablet.
To back up your iPad using iCloud, make sure your iPad is connected to Wi-Fi, so the data transfer doesn’t eat away at your mobile data allowance. Go to Settings > access your Apple ID profile > iCloud > iCloud Backup > Back Up Now.
Once this is complete, make sure you stay connected to your WiFi network to ensure the backup has been successful. You will be able to check whether or not this has been done correctly by looking at the date and time of your last backup which will be shown under ‘Back up Now’.
You can also use iTunes to back up your iPad when it is connected to a computer as an alternative option. Find out more about how to do this on the Apple website.
Regardless of whether you set up Apple Pay on your iPad, you should access your wallet to check if your card information is being stored. You can do this by going to Settings > Wallet and Apple Pay > select a card > click on the three dots in the right hand corner > scroll down and tap Remove Card. Make sure you do this for all of your cards which are connected to your Apple Pay account.
Finally, your iCloud account needs to be removed from the iPad. Go to Settings > tap on your Apple ID profile > tap Sign Out at the bottom > Enter your Apple ID password to confirm.
Another thing you must remember to do is sign out of all social media and email accounts as well as apps you use that have your login details saved. This includes signing out of your iMessage account.
To disable iMessage, navigate to Settings > Messages > Sign out and then switch off iMessage.
Next up, you should erase ALL saved website passwords and don’t worry, you won’t need to go through this individually! So, here's how to do it while saving time:
Go to Settings > Scroll down and click Passwords > Tap Edit which will be in the top right corner > Now, select all and click Delete in the top left corner.
In order to clear your browser history, all you need to do is remain in Settings > scroll down and tap Safari > Privacy & Security > Clear History and Website Data > Clear History and Data.
Done! Your browser history and saved website passwords have now successfully been deleted and you can go onto factory resetting your iPad.
Now that you’ve got your latest data backed up to iCloud (step 1) and you’re confident that everything you need is safe, you can now factory reset your iPad. You should only complete this step once all of the above steps have been done.
Go to Settings > General > Transfer or Reset iPad > Reset.
By completing this step, everything on your iPad will be erased and reset to default settings. This includes network settings, location settings, privacy settings, Apple Pay cards, and paired devices to name a few. Once the reset is complete, the iPad will be wiped off of all data and looking just like when you first powered it on with no trace of you ever using it.
Yes! You will need to use a computer to put your iPad into recovery mode, this will allow you to erase all data then it’ll be ready to be set up again or sold.
Relevant reading:
You’ve now made it to the final step where you will need to remove your iPad’s record from your Apple user account.
Visit appleid.apple.com, sign in with your Apple ID and access Devices, click on the iPad you're selling and complete the process by clicking Remove From Account. Make sure you take a note of the serial number for your records until the sale is complete, this will come handy if there are any disputes during the sale.
If your iPad supports cellular connection and you've used a SIM card, remember to eject your SIM before selling your iPad and remove any additional accessories such as screen protector or case. And just like that, you're ready to sell your iPad.
Relevant reading:

iOS 27 is here! Check out key features and whether your iPhone is compatible.
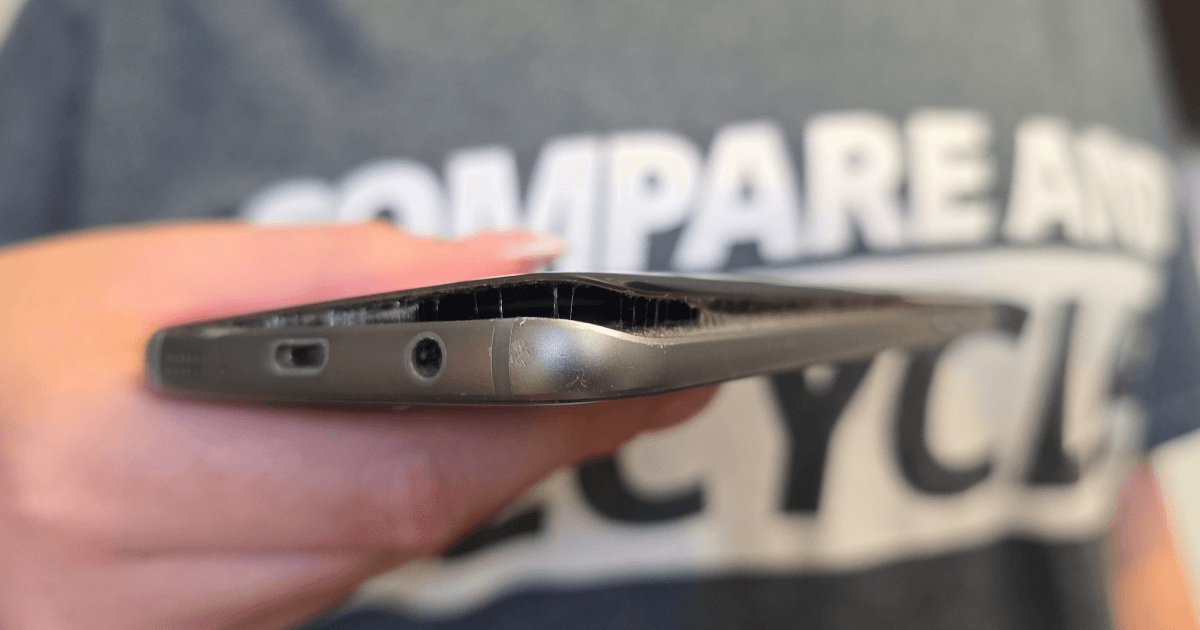
Storing old phones isn’t as harmless as it seems. Here’s why it’s worth digging out your old phone to avoid a hazardous situation.

In this first part of our Holiday Mode On series, we’ll cover essential accessories you need to pack to protect your phone from mishaps when on holiday.